Create a customer journey
A flow diagram can be created to continuously monitor KPIs and metrics in every step of your customer's journey.
-
On the left of the page, any of the following options can be
dragged into the workspace to start creating a customer journey.
Options Description Journey Steps 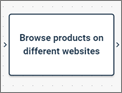
Journey steps are important steps in a customer's journey to achieve a specific goal. Metrics can be tied to a journey step to measure its performance. Decision Nodes 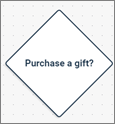
Decision nodes are visual and navigational indicators. As they are just decisions, they don't have metrics associated with them. They are usually questions that have branching paths into journey steps. For example, a decision node can be the question "Do you have a referral?" and it can branch into "Yes" and "No" responses. Arrows 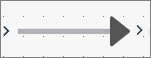
Arrows can be used as navigation or flow from one step to the next. Click on the Arrow button next to either a journey step or a decision node and drag it to the next option.
-
Click either the journey step or the decision node to open one of
the following options.
Options Description Settings button from Journey Steps 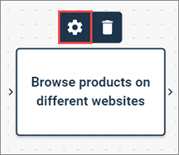
- In the
right-hand pane, fill out the following in the
Details section:
- Name: A title for the journey step.
- Description: A description for the metric.
- Analytics
Dashboard: Select from existing dashboards in Analytics to link to
a journey step.
Note: This option is only available if you have purchased Analytics.
- In the Metrics section, click the Add button to insert a KPI to monitor.
- In the
Data Source field, select one of
the following options.
Option Description Survey - In the Survey field, select an activity.
- In the
Question field,
select a question.
Note: The following question types are available as metrics:
- Number
- Allocation
- NPS®1
Touchpoint - In Activity, select a touchpoint activity.
- In
Question, select a
question.
Note: The following screen types are available as metrics:
- Numeric Scale
- Reaction Scale
Custom Integrations - In Data Source, select an integration.
- In Field, select a field.
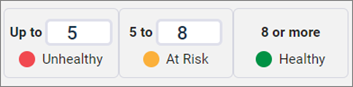
- Adjust any of the health metrics according to KPIs.
- Click the
Switch button, to determine
whether a lower or higher number is healthier.

- Lower is better
(Green to Red): An example is getting 10 complaints submitted is better than
having 100 complaints submitted that week.

- Higher the
better (Red to Green): An example is a CSAT score where a
satisfaction of 8 is better than 4.
- Lower is better
(Green to Red): An example is getting 10 complaints submitted is better than
having 100 complaints submitted that week.
- Click Apply.
Text button from Decision Nodes 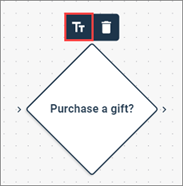
Add in a title to the decision node. - In the
right-hand pane, fill out the following in the
Details section:
-
To delete a journey step or decision node, click the respective
option and then
Delete.

1 Net
Promoter, NPS, and the NPS-related emoticons are registered U.S. trademarks,
and Net Promoter Score and Net Promoter System are service marks, of Bain &
Company, Inc., NICE Systems, Inc. and Fred Reichheld.